Command Center
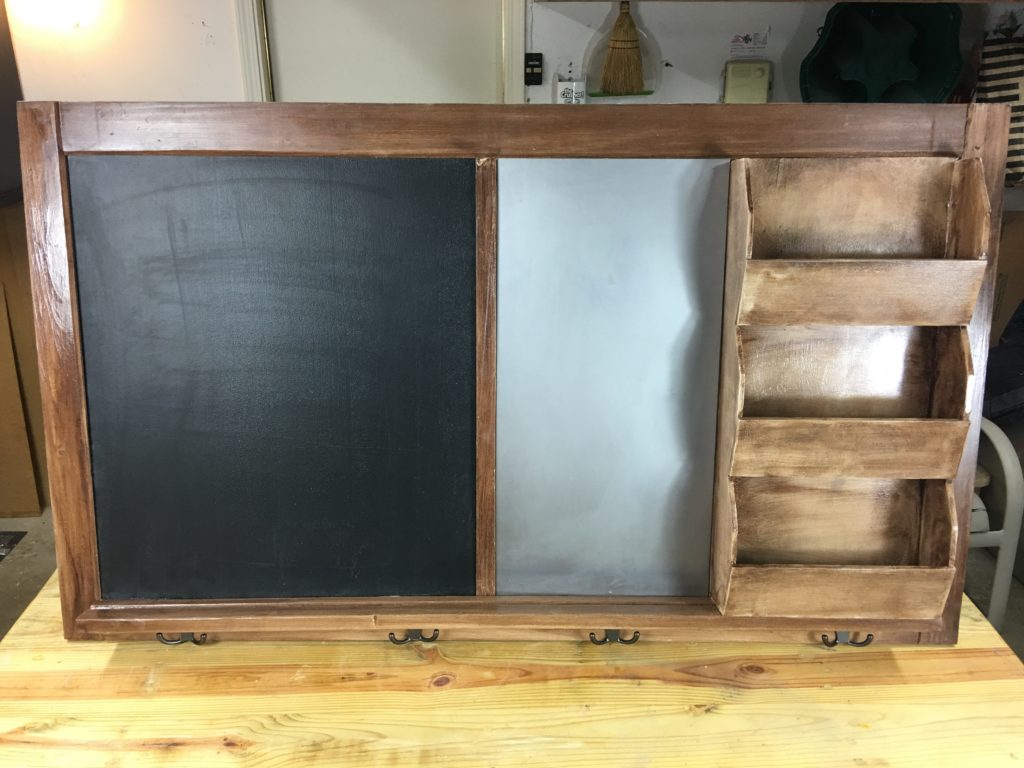
Mother’s Day was approaching and my wife was hinting about our kitchen loft and how empty it looked. She decided to have me build a command center with a farmhouse style bench.
I started the command center by looking on the internet for ideas. I wanted to see what people were doing. Well, it turns out that nothing we saw was going to work for us. So I asked what she wanted in a command center, and that’s how we came up with this design. I’ve never seen anything remotely close to what we came up with.
I started with 1″ x 3″ boards and made a square frame. I chose not to go with mitered corners because I didn’t want it looking like a large picture.
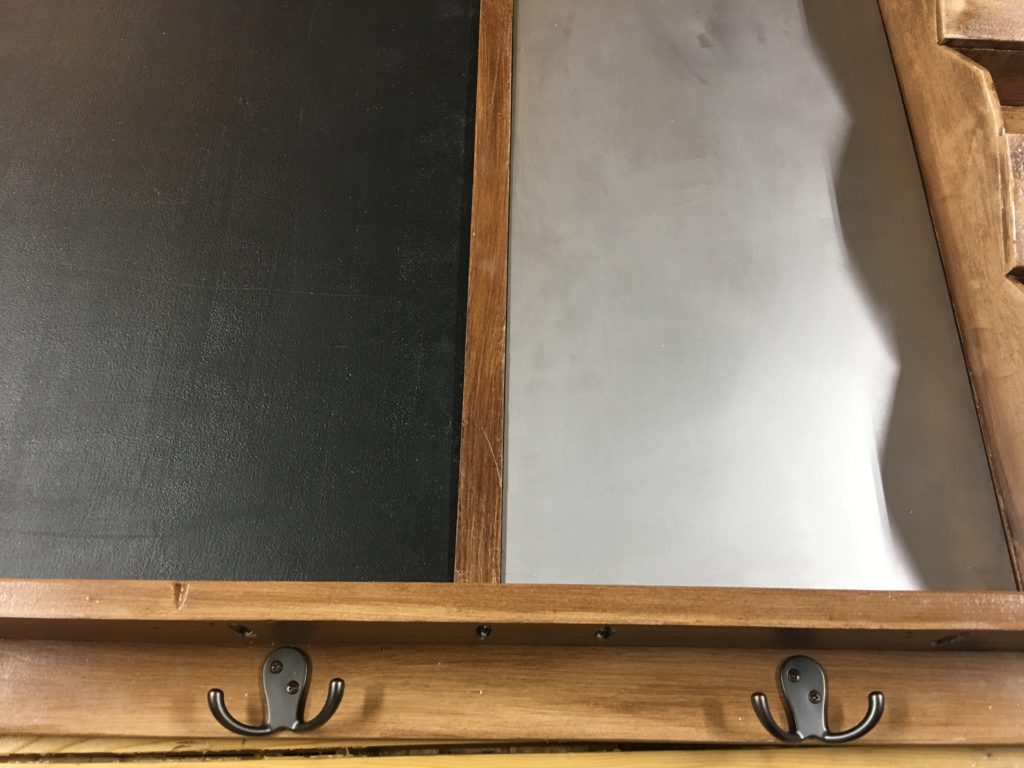
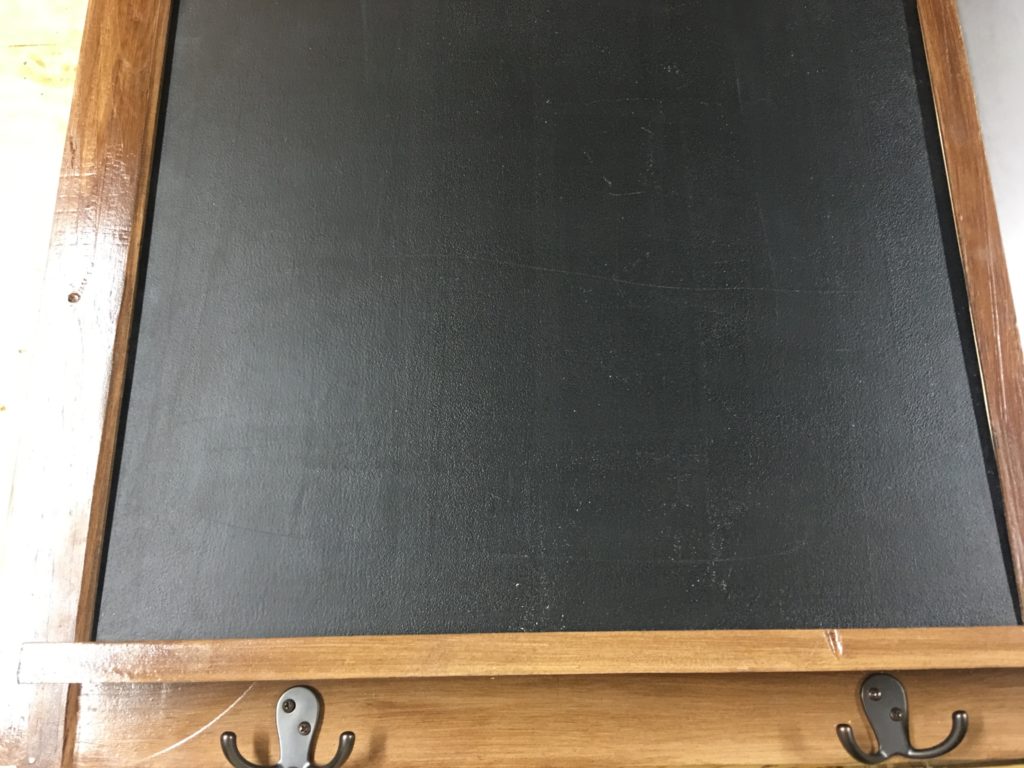
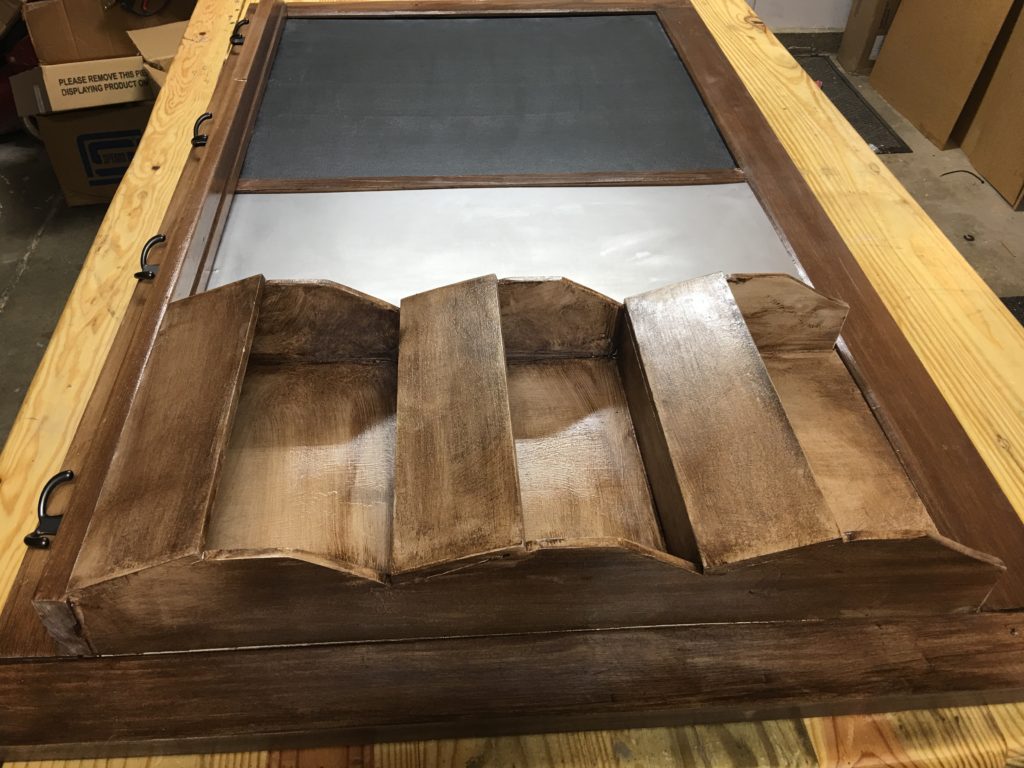
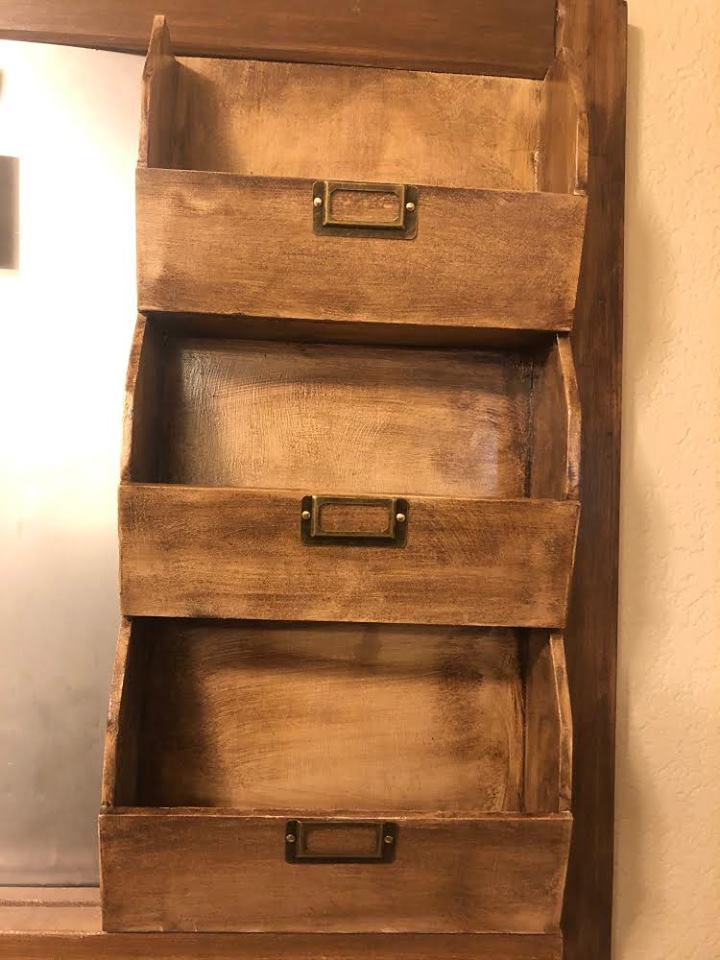
This was another design where I didn’t follow anyone’s base plans. I came up with three panels and used pocket hole screws to attach them to the frame. The three panels were a chalk board, a metal magnet plate, and a shelving unit.
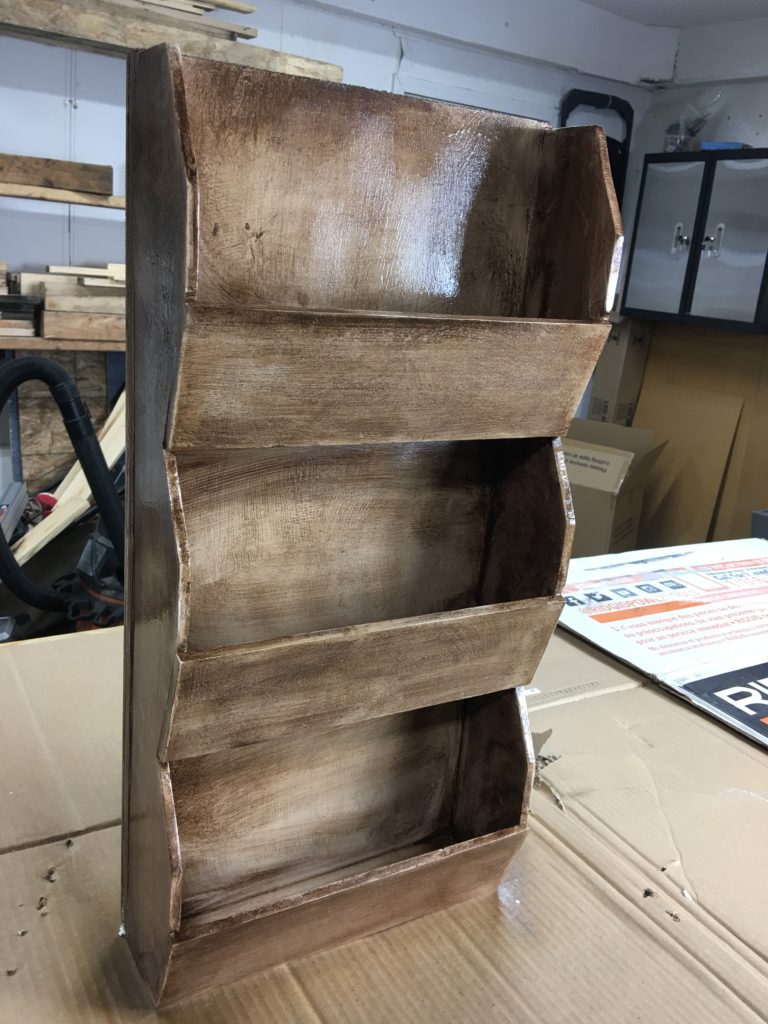
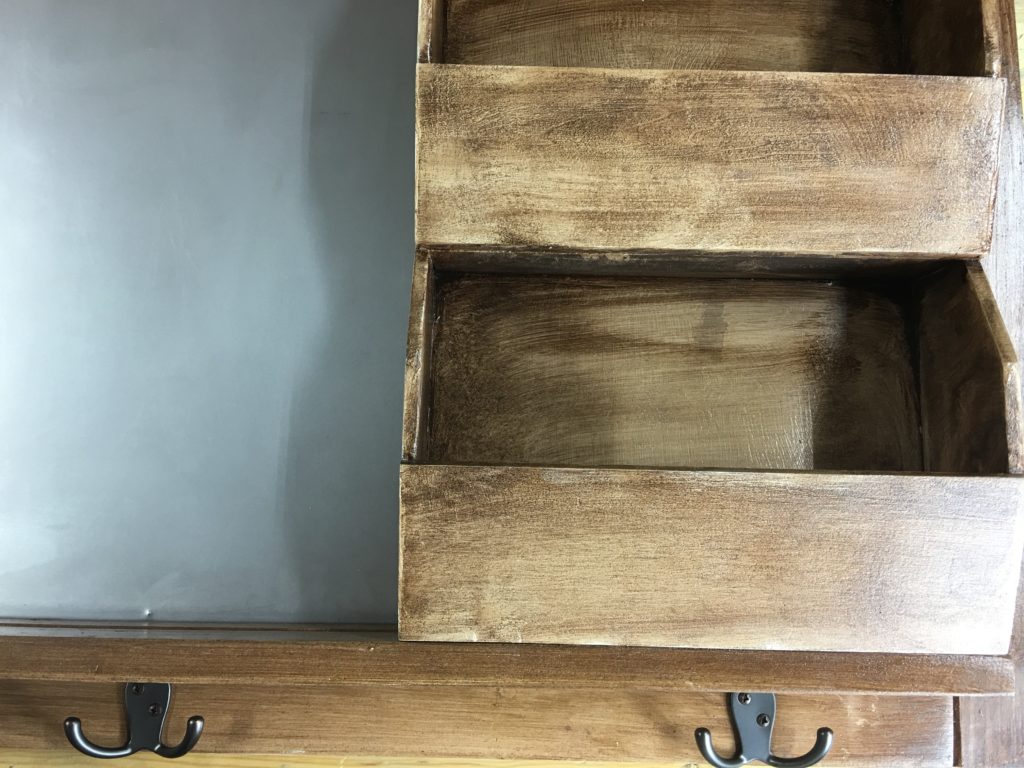
The shelves idea came from Home Goods. They had some slotted shelves that gave me the idea for the design. I got the metal plate and chalk board paint from Home Depot.
I used the smooth side of a hard board for the chalk board. I will not be using a brush again for the chalk board because the texture was not silky smooth like a traditional chalk board. In the future I will use the HVLP gun when I make another command center.
The stain recipe we were going for was a antique wooden look. It called for a white base of paint. When dried, we put on the dark walnut stain.
My wife loves it and it’s very handy to have for magnet pics, mail, and dinner calendars.
Materials Used:
- 1×3 Boards
- Pocket Hole Screws
- Titebond II Wood Glue
- Crate Planks
- Plastic Wood
- Varathane Poly Spray
- Varathane Dark Walnut Stain
- Rust-Oleum Chalk Paint
- Rust-Oleum White Primer
- Cobra Anchors
- M-D Building 12″ x 24″ 22 Gauge Metal Sheet
- Everbilt Bronze Metal Hooks
YouTube Episode
Build Photos
