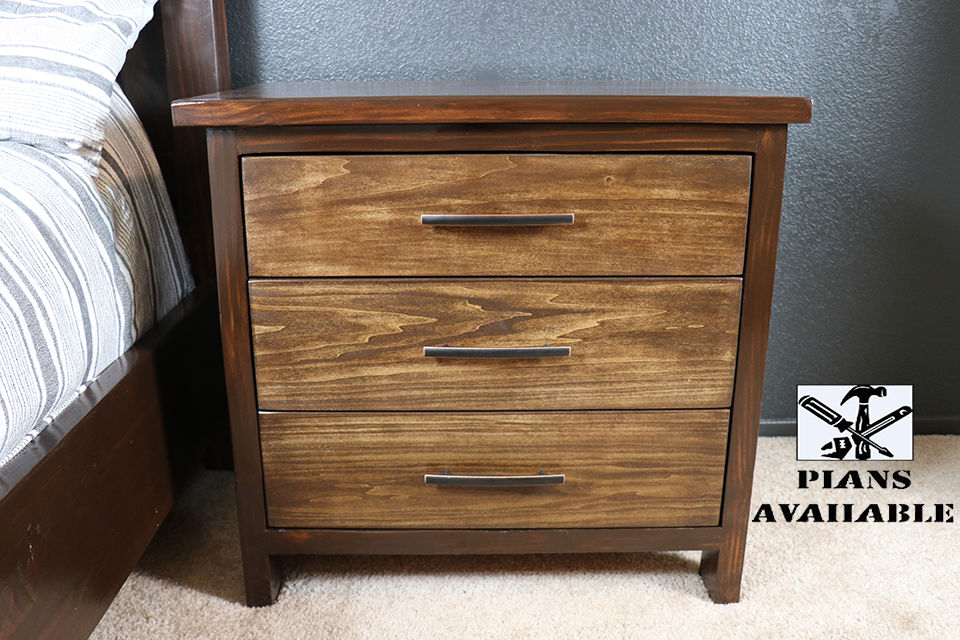
Modern Farmhouse Nightstands
After completing the farmhouse king bed project, we wanted to continue the momentum and start the nightstand project. We fired up Sketchup and started a design my wife liked. Originally, we planned to have a smaller drawer on the top, but as we built, things changed. What happened is, I figured we had enough wood to make a larger drawer on the top. So that is what we did. I honestly like the design we came up with. The drawer guides changed as well. Originally, we thought about doing a drawer guide design that I saw on Mathias Wendell’s YouTube channel. However to simplify things I used a “L” shaped traditional approach to drawer guides.
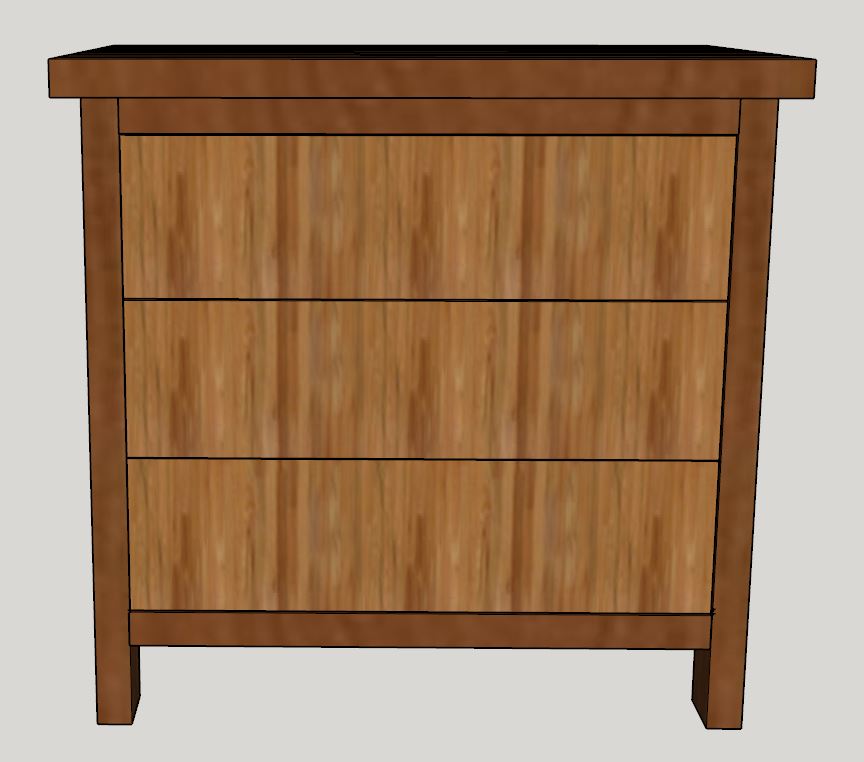
Original Design

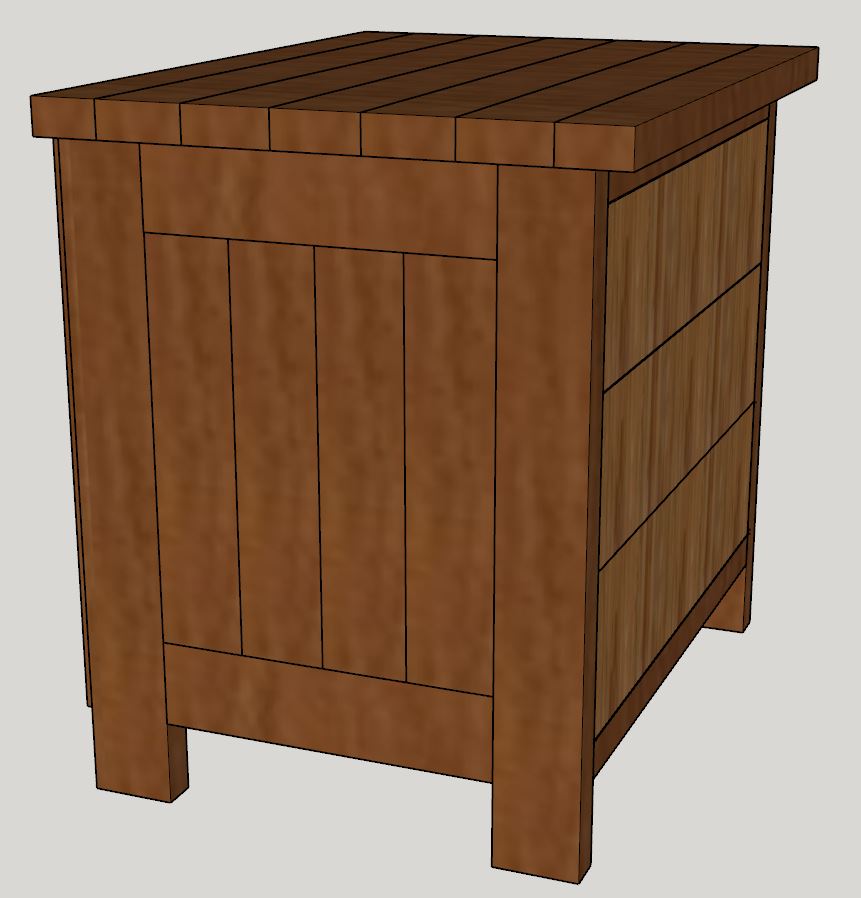
New Design
Every part of the nightstand build was fun and a little more challenging. It was because things had to be a bit more precise so the drawers were going to function properly. I did everything proper to the best of my ability. I feel good about that.
Were there mistakes? Of course! But as usual, I worked through them. I had never made a bed before let alone a nightstand. The process was extremely fun, because I took my time learning, then doing. I utilized some tutorials online, as well as good old YouTube. I encountered a major mistake in the first panel for the top of one nightstand. I didn’t joint the boards correctly, and it resulted in a bowed panel. I had to scrap all that wood. I bought more, and then let it acclimate to my workshop for 2 more weeks. I’ll never make that mistake again!
Speaking of YouTube, during this build I hit 1000 subscribers and started monetizing. I was super excited about that. It’s a humbling experience when your channel has been around for almost 3 years without growing that much. I have a very busy schedule, but I found time to finish these projects.
The Porter Cable Dovetail jig came in handy again. I’m so glad I decided on a traditional approach instead of just screwing the drawer boxes together. The reason I didn’t use mortise and tenon is because I was pressed for time and I still need to learn how to do that. On a project that cost us some money I didn’t want to mess it up anymore than I did. However, I’m really excited that I’m learning more and growing as a woodworker.
Materials Used: (Affiliate Links)
- 2×4 Studs
- Poplar Hardwood
- ¼ Pine Plywood
- ¼ Masonite Board
- Titebond 2 Wood Glue
- Kreg HD 2 ½ Pocket Screws
- Kreg 2 ½ Pocket Screws
- DAP Plastic Wood Filler
- Varathane Pre-Stain Conditioner
- Varathane Dark Walnut Stain
- Varathane Semi-Gloss Polyurethane
Tools Used: (Affiliate Links)
- Kreg K5 Pocket-Hole Jig
- Kreg HD Jig
- Kreg KHC3 Clamp
- Kreg KBC3 Bench Clamp
- Kreg KHI-PULL Cabinet Hardware Jig
- Bosch 5″ RO20VSC Random Orbit Sander
- Empire Level
- Ridgid R4221 Miter Saw
- Ridgid R4512 Table Saw
- Ridgid Impact Driver
- Rockler Bar Clamps
- Rockler Glue Kit
- Irwin Quick-Grip Clamp Kit
- Bessey BGPKIT General Kit
- Bessey WS-3+2K 90 Degree Clamps
- Topman Flush Cutting Z Saw
- PEC Solid Squares Set
- FastCap PSSR25 Lefty/Righty Tape Measure
- Porter-Cable Dovetail Jig (4216)
YouTube Episode
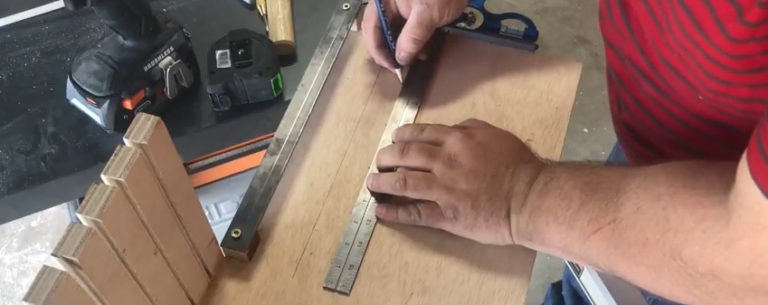
Build Photos